Author: Chelsea

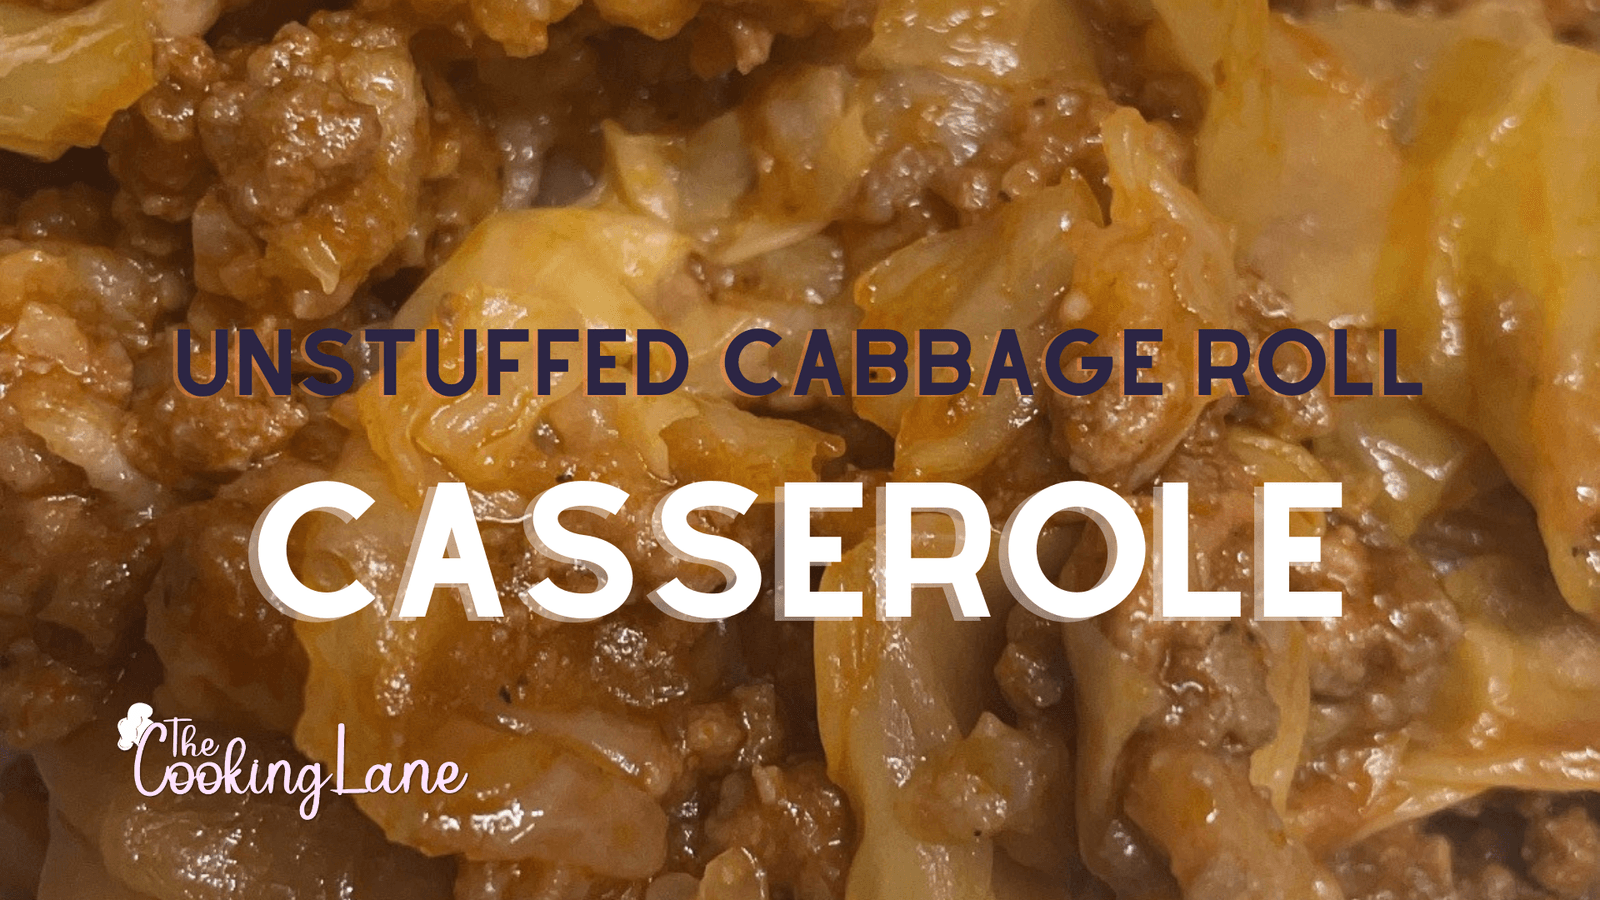
Unstuffed Cabbage Roll Casserole

[et_pb_section fb_built=”1″ theme_builder_area=”post_content” _builder_version=”4.25.0″ _module_preset=”default”][et_pb_row _builder_version=”4.25.0″ _module_preset=”default” theme_builder_area=”post_content”][et_pb_column _builder_version=”4.25.0″ _module_preset=”default” type=”4_4″ theme_builder_area=”post_content”][et_pb_text _builder_version=”4.25.0″ _module_preset=”default” theme_builder_area=”post_content” hover_enabled=”0″ sticky_enabled=”0″]

Ingredients:
– 1 lb ground beef
– 1 onion, chopped
– 1 bell pepper, chopped
– 2 cups cooked rice
– 1 can (15 oz) tomato sauce
– 1 teaspoon Slap Ya Mama Cajun seasoning (adjust to taste)
– 1 teaspoon garlic powder
– Salt and pepper to taste
– 1 small head of cabbage, shredded

Instructions:
1. Preheat your oven to 375°F (190°C). Grease a 9×13 inch baking dish.
2. In a large skillet, cook the ground beef over medium heat until browned. Drain excess fat if necessary.
3. Add chopped onion and bell pepper to the skillet with the beef. Cook until softened, about 5 minutes.
4. Stir in cooked rice, tomato sauce, Slap Ya Mama Cajun seasoning, garlic powder, salt, and pepper. Let simmer for a few minutes to combine flavors.
5. Add the shredded cabbage to the skillet with the beef mixture. Stir well to combine.
6. Cover the skillet and let cook for about 10 minutes, stirring occasionally, until the cabbage is slightly softened.
7. Transfer the mixture to the prepared baking dish, spreading it out evenly.
8. Cover the baking dish with foil and bake in the preheated oven for 30-35 minutes, or until the cabbage is fully tender.
9. Remove foil and bake for an additional 10 minutes to brown the top if desired.
10. Let cool slightly before serving. Enjoy your delicious Unstuffed Cabbage Roll Casserole!
[/et_pb_text][/et_pb_column][/et_pb_row][/et_pb_section]

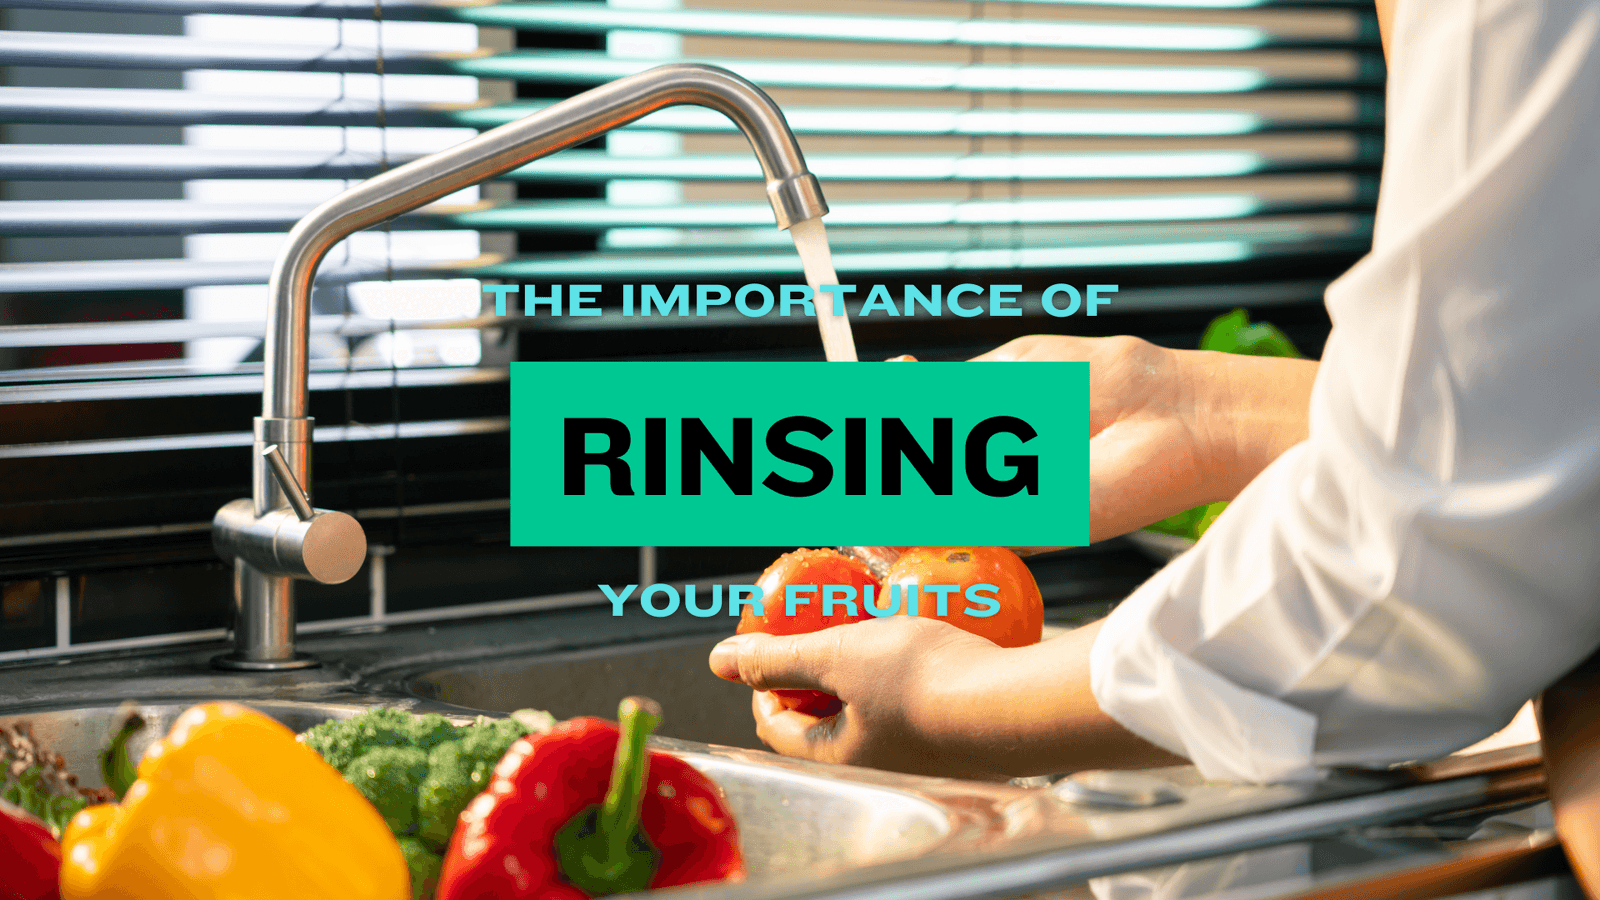
The Importance Of Rinsing Fruits

In today’s health-conscious world, we often focus on the nutritional value of the foods we eat. However, equally important is ensuring that our food is safe to consume. One simple yet often overlooked step in food safety is rinsing fruits and vegetables before consumption. In this blog post, we’ll explore why rinsing your produce is essential for maintaining good health and minimizing the risk of foodborne illnesses. 1.      Removing Pesticide Residues: Many fruits and vegetables are treated with pesticides to protect them from pests and diseases during growth. While these pesticides are regulated to ensure they are safe for consumption, residues may still remain on the surface of the produce. Rinsing fruits and vegetables under cold, running water can help remove these residues, reducing your exposure to potentially harmful chemicals. 2.      Reducing Bacteria and Contaminants: Produce can become contaminated with bacteria, dirt, and other contaminants during harvesting, transportation, and handling. Rinsing fruits and vegetables helps to remove surface dirt and debris, as well as reduce the presence of harmful bacteria such as E. coli and Salmonella. This simple step can significantly lower the risk of foodborne illnesses and ensure that your produce is safe to eat. 3.      Minimizing the Risk of Foodborne Illnesses: Consuming unwashed fruits and vegetables can potentially lead to foodborne illnesses, which can cause symptoms such as nausea, vomiting, diarrhea, and stomach cramps. By thoroughly rinsing your produce before eating or cooking, you can minimize the risk of food contamination and protect yourself and your family from illness. 4.      Improving Taste and Texture: In addition to safety concerns, rinsing fruits and vegetables can also improve their taste and texture. Washing away dirt and debris can reveal the true flavor of the produce, allowing you to enjoy its natural sweetness and freshness. Additionally, rinsing can help revive wilted or limp vegetables, making them crisp and appetizing once again. 5.      Best Practices for Rinsing Produce: When rinsing fruits and vegetables, it’s essential to follow best practices to ensure effective cleaning: •       Use cold, running water to rinse produce thoroughly. •       Gently rub the surface of fruits and vegetables with your hands or a soft brush to remove dirt and debris. •       Dry produce with a clean paper towel or cloth after rinsing to remove excess moisture. •       For firmer produce with rinds or skins (such as melons or cucumbers), use a clean produce brush to scrub the surface before rinsing.Rinsing fruits and vegetables is a simple yet critical step in ensuring food safety and promoting good health. By removing pesticide residues, reducing bacteria and contaminants, and minimizing the risk of foodborne illnesses, rinsing produce can help protect you and your loved ones from harm. Incorporate this easy practice into your food preparation routine to enjoy safer, healthier meals every day.

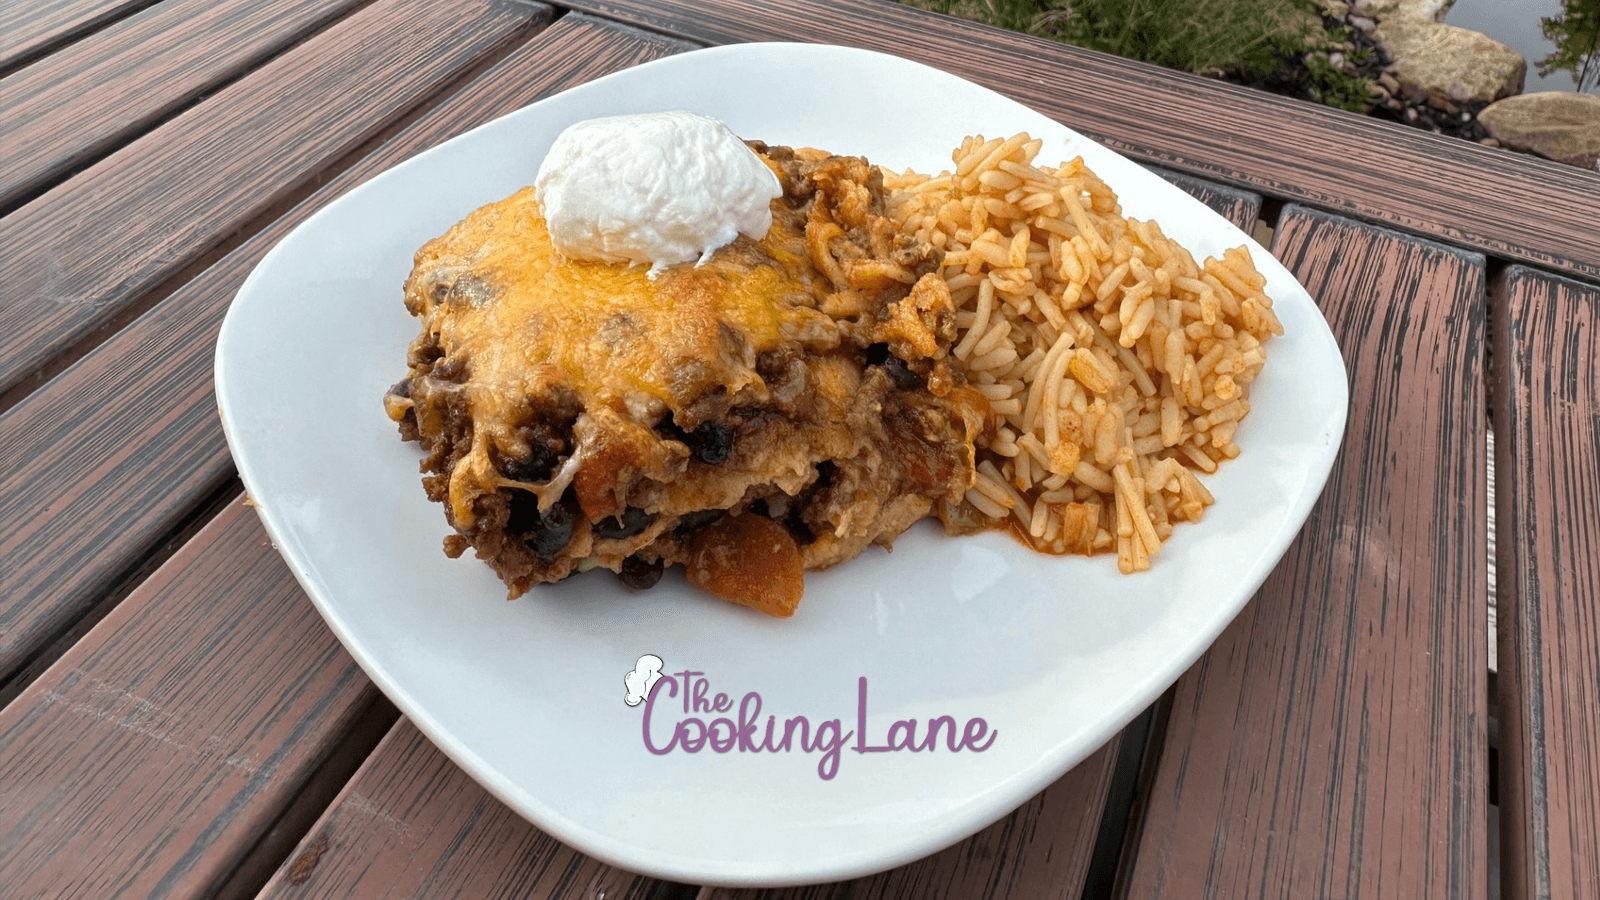
Mexican Lasagna

[et_pb_section fb_built=”1″ theme_builder_area=”post_content” _builder_version=”4.25.0″ _module_preset=”default”][et_pb_row _builder_version=”4.25.0″ _module_preset=”default” theme_builder_area=”post_content”][et_pb_column _builder_version=”4.25.0″ _module_preset=”default” type=”4_4″ theme_builder_area=”post_content”][et_pb_text _builder_version=”4.25.0″ _module_preset=”default” theme_builder_area=”post_content” hover_enabled=”0″ sticky_enabled=”0″]

Ingredients:

        •       2 lbs ground beef
        •       1 packet taco seasoning
        •       1 onion, diced
        •       1 can (15 oz) black beans, drained and rinsed
        •       1 can (4 oz) diced green chilies
        •       1 can (14.5 oz) diced tomatoes, drained
        •       12-16 small corn tortillas
        •       2 cups shredded cheese (cheddar, Mexican blend, or your favorite melting cheese)

Instructions:

        1.      Preheat your oven to 375°F (190°C).
        2.      In a large skillet, brown the ground beef over medium heat, breaking it apart with a spatula as it cooks.
        3.      Once the beef is browned, add the diced onion to the skillet and cook for a few minutes until the onion is soft and translucent.
        4.      Stir in the taco seasoning packet, black beans, diced green chilies, and drained diced tomatoes. Cook for another 2-3 minutes, stirring occasionally, until everything is well combined and heated through.
        5.      In a 9×13 inch baking dish, spread a thin layer of the beef mixture on the bottom.
        6.      Place a layer of corn tortillas on top of the beef mixture, covering the bottom of the baking dish. You may need to cut some of the tortillas to fit.
        7.      Spoon half of the remaining beef mixture evenly over the tortillas.
        8.      Sprinkle half of the shredded cheese over the beef mixture.
        9.      Repeat the layers: tortillas, beef mixture, and shredded cheese.
        10.     Cover the baking dish with aluminum foil and bake in the preheated oven for 15 minutes.
        11.     After 15 minutes, remove the foil and continue baking for an additional 5 minutes, or until the cheese is melted and bubbly.
        12.     Once cooked, remove the Mexican lasagna from the oven and let it cool for a few minutes before slicing and serving.

[/et_pb_text][/et_pb_column][/et_pb_row][/et_pb_section]

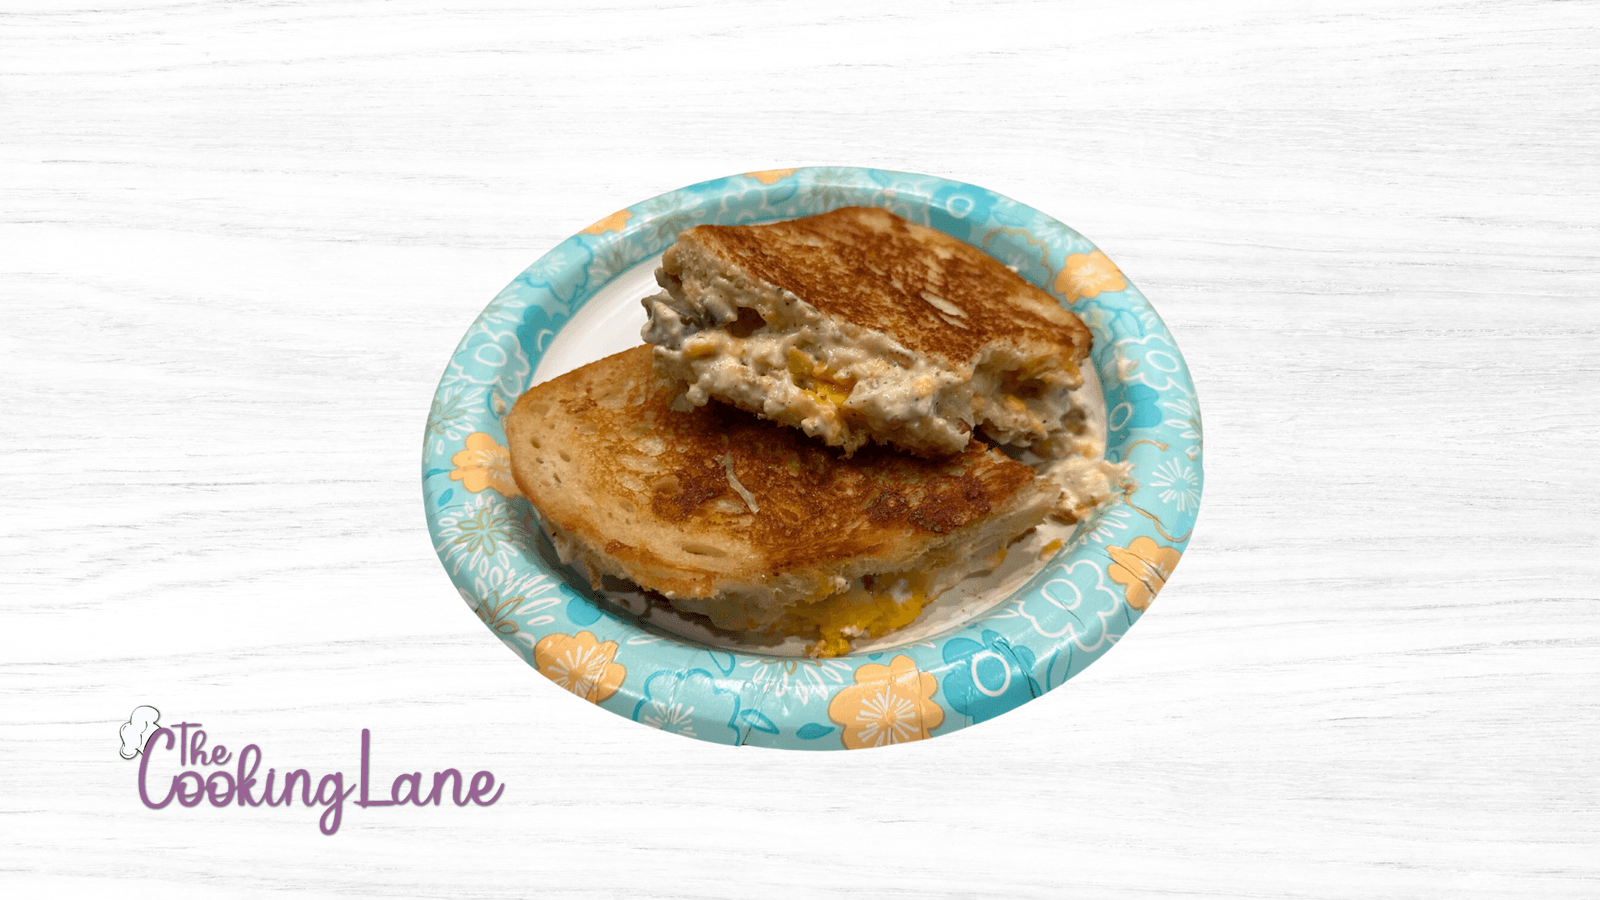
Jalapeño Popper Grilled Cheese

[et_pb_section fb_built=”1″ theme_builder_area=”post_content” _builder_version=”4.25.0″ _module_preset=”default”][et_pb_row _builder_version=”4.25.0″ _module_preset=”default” theme_builder_area=”post_content”][et_pb_column _builder_version=”4.25.0″ _module_preset=”default” type=”4_4″ theme_builder_area=”post_content”][et_pb_text _builder_version=”4.25.0″ _module_preset=”default” theme_builder_area=”post_content” hover_enabled=”0″ sticky_enabled=”0″]

Ingredients:
– 4 slices of sourdough bread
– 1 cup shredded Munster cheese
– 1 cup shredded cheddar cheese
– 4 tablespoons cream cheese
– 2-3 tablespoons canned sliced jalapeños, drained
– 2 tablespoons bacon bits
– Butter, softened
– Salt and pepper, to taste

Instructions:
1. Preheat a skillet or griddle over medium heat.
2. Butter one side of each slice of sourdough bread.
3. In a bowl, mix together the shredded Munster cheese, shredded cheddar cheese, drained canned sliced jalapeños, and bacon bits. Season with salt and pepper to taste.
4. Spread 1 tablespoon of cream cheese evenly on the non-buttered side of each slice of sourdough bread.
5. Divide the cheese and jalapeño mixture evenly between two slices of bread, placing it on top of the cream cheese.
6. Top with the remaining two slices of bread, buttered side facing outwards.
7. Place the sandwiches in the preheated skillet or griddle.
8. Cook for 3-4 minutes on each side, or until the bread is golden brown and the cheese is melted.
9. Remove the sandwiches from the skillet and let them cool for a minute before slicing.
10. Slice the sandwiches diagonally and serve hot.

Enjoy your spicy and cheesy jalapeño popper grilled cheese sandwiches made with shredded cheese and canned jalapeños!

[/et_pb_text][/et_pb_column][/et_pb_row][/et_pb_section]

Crunch Wrap Supreme

[et_pb_section fb_built=”1″ theme_builder_area=”post_content” _builder_version=”4.25.0″ _module_preset=”default”][et_pb_row _builder_version=”4.25.0″ _module_preset=”default” theme_builder_area=”post_content”][et_pb_column _builder_version=”4.25.0″ _module_preset=”default” type=”4_4″ theme_builder_area=”post_content”][et_pb_text _builder_version=”4.25.0″ _module_preset=”default” theme_builder_area=”post_content” hover_enabled=”0″ sticky_enabled=”0″]

Crunch Wrap Supreme
Ingredients:

        •       Large flour tortillas (burrito-sized)
        •       Taco meat (cooked ground beef or turkey seasoned with taco seasoning)
        •       Avocado, sliced
        •       Shredded cheese (cheddar or Mexican blend)
        •       Tostada shell
        •       Sour cream
        •       Nacho cheese sauce
        •       Shredded lettuce
        •       Diced tomatoes
        •       Small flour tortillas (soft taco-sized)

Instructions:

        1.      Preheat a skillet over medium heat.
        2.      Warm up the large flour tortillas for about 10-15 seconds on each side in the skillet to make them easier to fold.
        3.      Lay out a large tortilla on a clean surface. In the center of the tortilla, add a scoop of taco meat.
        4.      Top the taco meat with a few slices of avocado, a sprinkle of shredded cheese, and a tostada shell.
        5.      Spread a dollop of sour cream on top of the tostada shell, followed by a drizzle of nacho cheese sauce.
        6.      Sprinkle shredded lettuce and diced tomatoes over the nacho cheese sauce.
        7.      Now, place the small flour tortilla on top of the lettuce and tomatoes.
        8.      Fold the edges of the large tortilla over the small tortilla and center filling, creating pleats as you go.
        9.      Place the assembled Crunchwrap, seam-side down, in the preheated skillet. Cook for 2-3 minutes on each side, or until the tortilla is golden brown and crispy.
        10.     Once the Crunchwrap is cooked, remove it from the skillet and let it cool for a minute and enjoy!

Enjoy your homemade copycat Crunchwrap Supreme!!

[/et_pb_text][/et_pb_column][/et_pb_row][/et_pb_section]

S’mores Cookies

[et_pb_section fb_built=”1″ theme_builder_area=”post_content” _builder_version=”4.25.0″ _module_preset=”default”][et_pb_row _builder_version=”4.25.0″ _module_preset=”default” theme_builder_area=”post_content”][et_pb_column _builder_version=”4.25.0″ _module_preset=”default” type=”4_4″ theme_builder_area=”post_content”][et_pb_text _builder_version=”4.25.0″ _module_preset=”default” theme_builder_area=”post_content” hover_enabled=”0″ sticky_enabled=”0″]

S’mores Cookies

Ingredients:
– Parchment paper
– Baking sheet
– Graham crackers
– Hershey chocolate bars (or chocolate chips)
– Large marshmallows
– Cookie dough (store-bought or homemade)

Instructions:
1. Preheat your oven to 325°F (160°C). Line a baking sheet with parchment paper.

2. Break the graham crackers into squares or rectangles, depending on the size you prefer. Place them in a single layer on the prepared baking sheet.

3. Cut the Hershey chocolate bars into squares or rectangles that are roughly the same size as the graham crackers. Place one piece of chocolate on top of each graham cracker.

4. Cut the large marshmallows in half horizontally, so you have two thinner marshmallow discs. Place one marshmallow half on top of each piece of chocolate.

5. Take portions of the cookie dough and flatten them slightly between your palms to form disks that are slightly larger than the marshmallows. Place one disk of cookie dough on top of each marshmallow, pressing down gently to adhere it to the marshmallow.

6. Arrange the cookies on the baking sheet, leaving some space between each one to allow for spreading during baking.

7. Bake the cookies in the preheated oven for about 12-15 minutes, or until the edges are golden brown and the marshmallows are puffed and lightly toasted.

8. Remove the cookies from the oven and let them cool on the baking sheet for a few minutes before transferring them to a wire rack to cool completely.

9. Once cooled, serve the S’mores Cookies and enjoy the gooey, chocolatey goodness!

These cookies capture the classic flavors of s’mores in a convenient and delicious treat that’s perfect for any occasion.

[/et_pb_text][/et_pb_column][/et_pb_row][/et_pb_section]