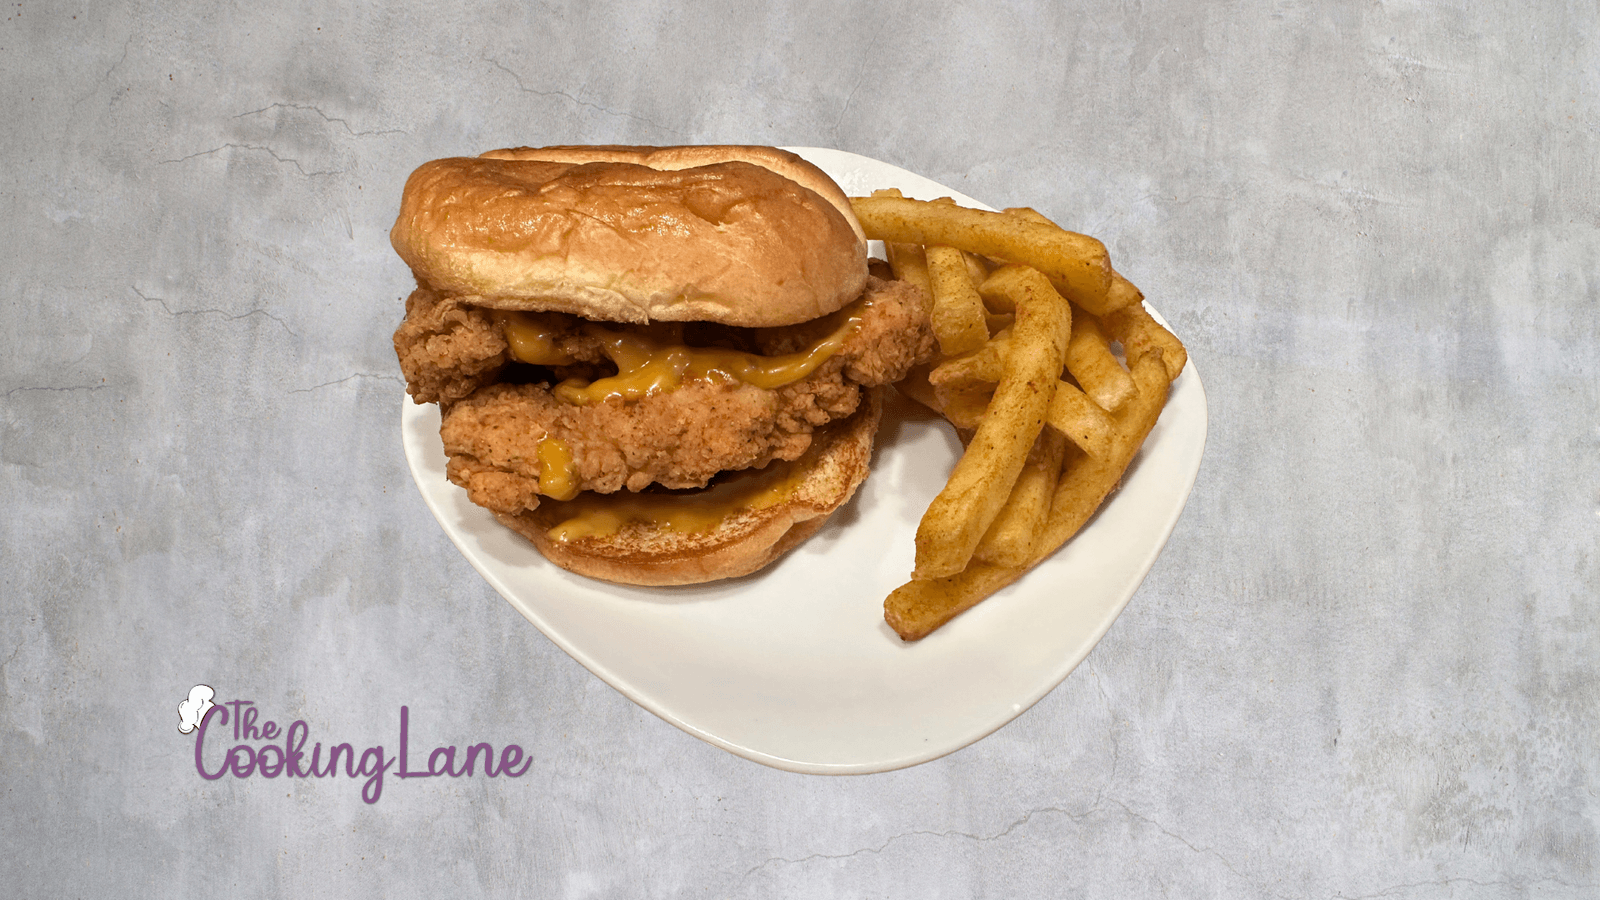
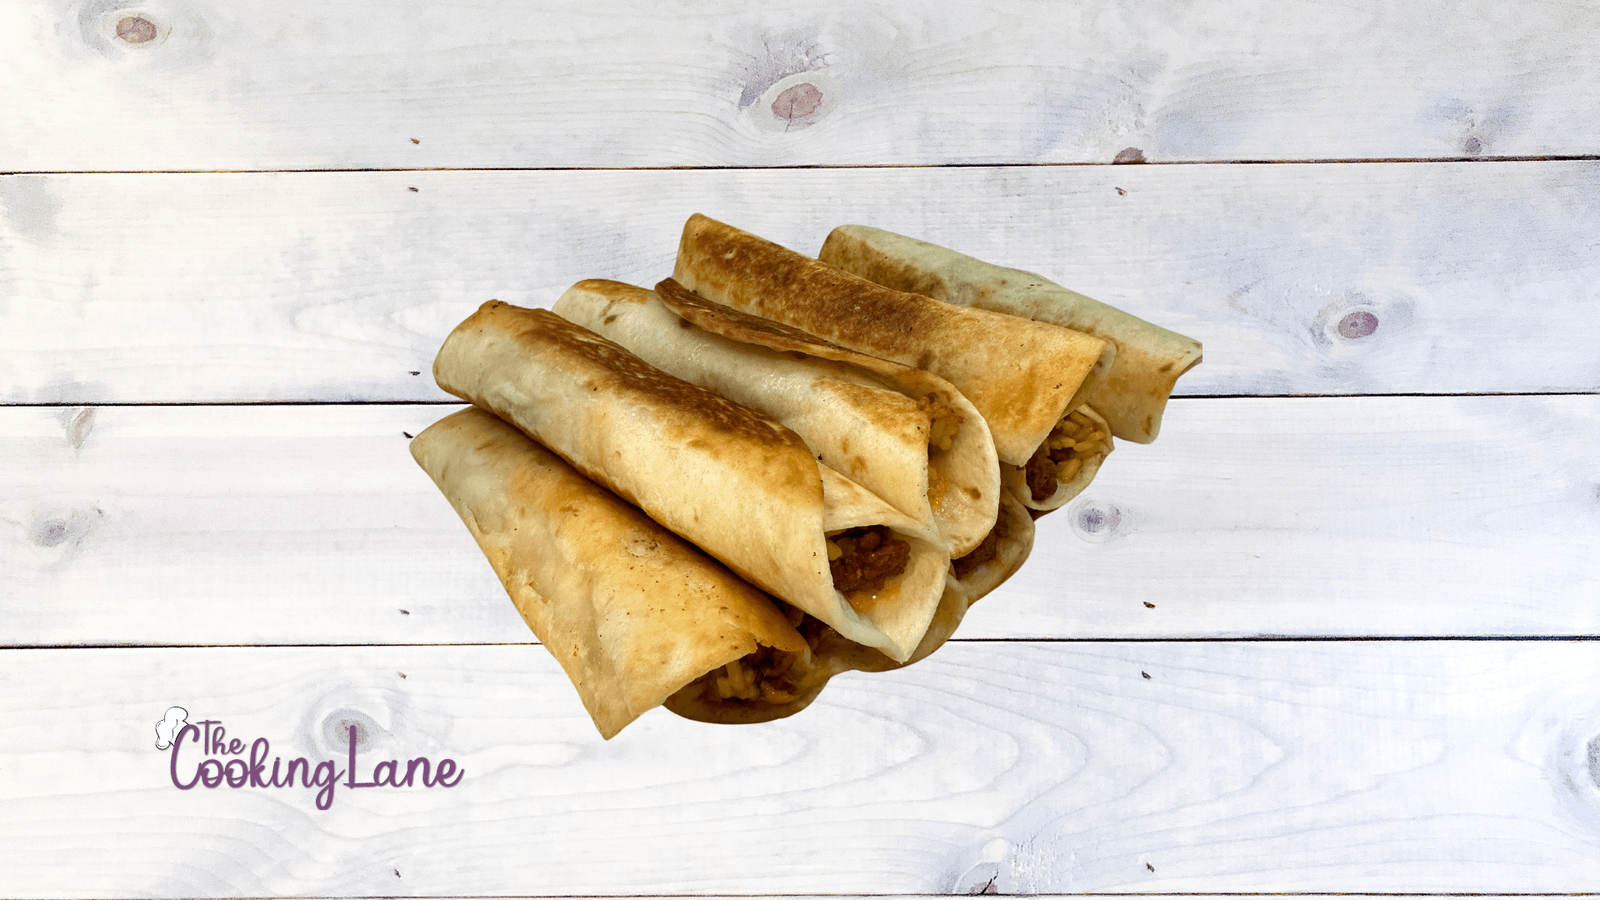
Cheesy Beefy Roll-Ups

[et_pb_section fb_built=”1″ theme_builder_area=”post_content” _builder_version=”4.25.1″ _module_preset=”default”][et_pb_row _builder_version=”4.25.1″ _module_preset=”default” theme_builder_area=”post_content”][et_pb_column _builder_version=”4.25.1″ _module_preset=”default” type=”4_4″ theme_builder_area=”post_content”][et_pb_text _builder_version=”4.25.1″ _module_preset=”default” theme_builder_area=”post_content” hover_enabled=”0″ sticky_enabled=”0″]

Ingredients

  • 1 lb ground beef
  • 2 tablespoons taco seasoning
  • 1 medium onion, finely chopped
  • 1 bag of pre-cooked Mexican rice (about 1-2 cups, depending on preference)
  • 1 cup shredded cheese (Mexican blend works well)
  • 1/2 cup queso (can use jarred or homemade)
  • 6-8 flour tortillas
  • Oil, for shallow frying
  • Optional garnishes: sour cream, salsa, guacamole, fresh cilantro

Instructions

  1. Cook the ground beef: In a large skillet over medium heat, cook the ground beef until it’s no longer pink, breaking it up into crumbles as it cooks. Drain any excess fat.

  2. Season the beef: Stir in the taco seasoning and chopped onion, cooking until the onion is soft and translucent and the beef is well seasoned. Remove from heat.

  3. Prepare the rice: Heat the Mexican rice according to package instructions. Set aside.

  4. Assemble the roll-ups: Lay out a tortilla on a flat surface. Spread a thin layer of queso over the tortilla. Add a spoonful of the taco beef mixture, a spoonful of Mexican rice, and a sprinkle of shredded cheese.

  5. Roll up the tortilla: Carefully roll the tortilla tightly around the filling, ending with the seam side down to help keep it closed.

  6. Repeat: Continue filling and rolling the remaining tortillas.

  7. Heat the oil: In a large, shallow pan, heat a thin layer of oil over medium-high heat. Once hot, place the roll-ups seam side down into the oil. Fry until golden brown on all sides, turning carefully with tongs.

  8. Drain: Remove the roll-ups from the oil and drain on a paper towel-lined plate.

  9. Serve: Cut the roll-ups in half, if desired, and serve hot with optional garnishes like sour cream, salsa, guacamole, or fresh cilantro.
[/et_pb_text][/et_pb_column][/et_pb_row][/et_pb_section]

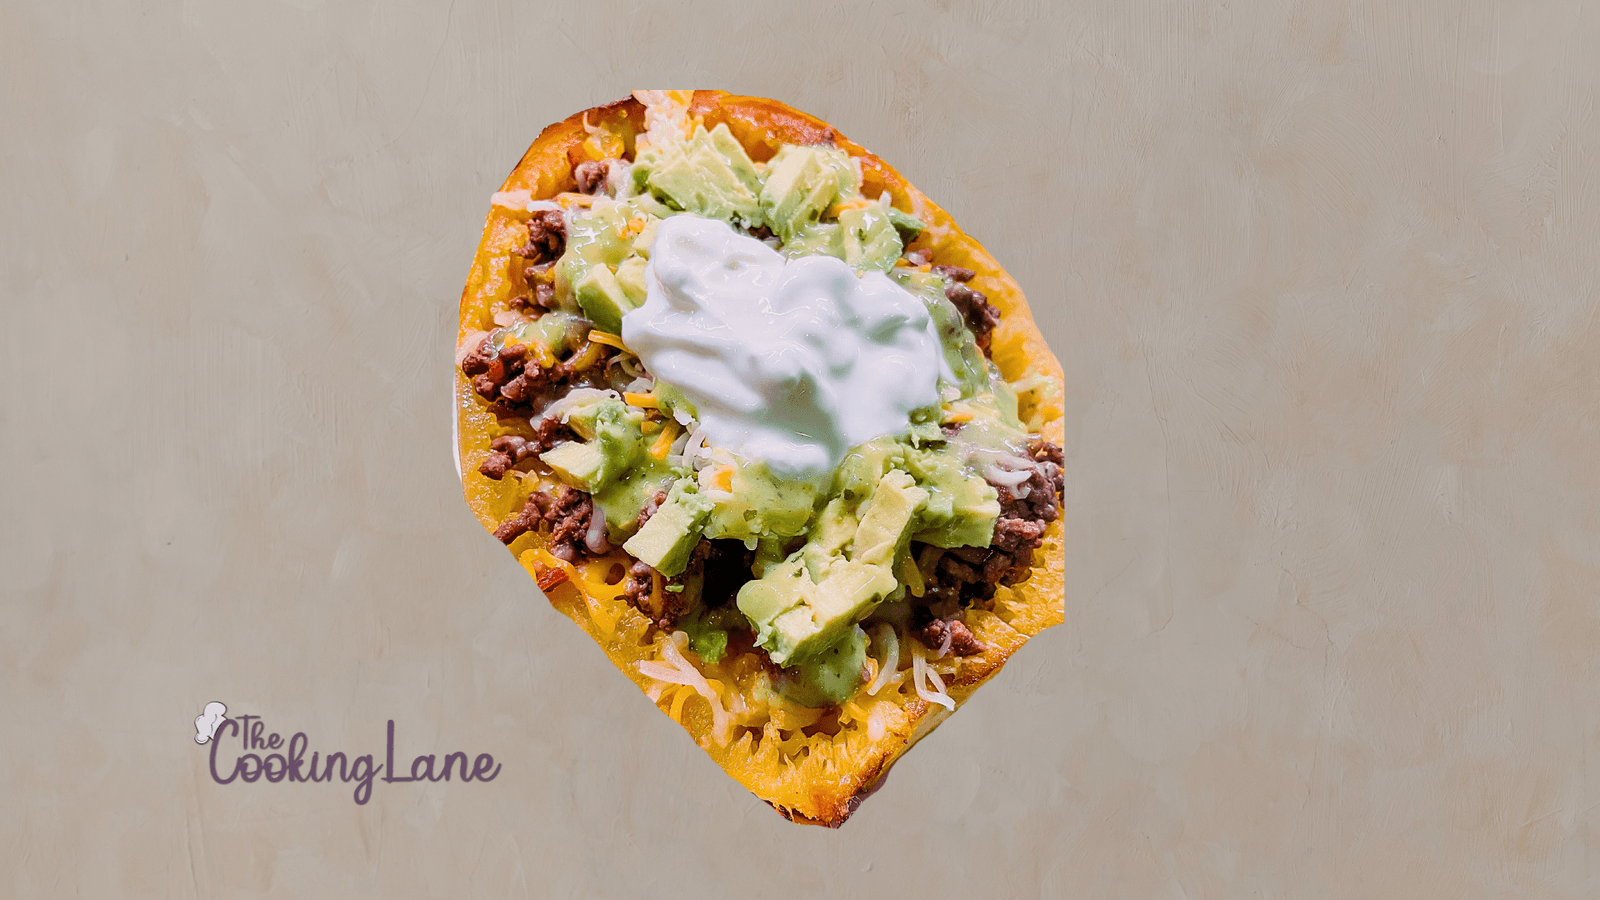
Spaghetti Squash Taco Boat

[et_pb_section fb_built=”1″ theme_builder_area=”post_content” _builder_version=”4.25.1″ _module_preset=”default”][et_pb_row _builder_version=”4.25.1″ _module_preset=”default” theme_builder_area=”post_content”][et_pb_column _builder_version=”4.25.1″ _module_preset=”default” type=”4_4″ theme_builder_area=”post_content”][et_pb_text _builder_version=”4.25.1″ _module_preset=”default” theme_builder_area=”post_content” hover_enabled=”0″ sticky_enabled=”0″]

Ingredients:

  • 2 medium spaghetti squash
  • 1 lb ground beef or turkey
  • 1 tbsp taco seasoning (homemade or store-bought)
  • 1/2 cup water
  • 1 bell pepper (any color), diced
  • 1 cup shredded cheese (cheddar, Monterey Jack, or a Mexican blend)
  • 1 ripe avocado, diced
  • Sour cream for garnishing
  • Olive oil
  • Salt and pepper to taste
  • Optional garnishes: chopped cilantro, lime wedges, sliced jalapeños

Instructions:

  1. Preheat the Oven and Prepare Squash:

    • Preheat your oven to 400°F (200°C).
    • Slice the spaghetti squash in half lengthwise and scoop out the seeds. Drizzle the inside with olive oil and season with salt and pepper.
    • Place the squash halves cut-side down on a baking sheet lined with parchment paper.
    • Roast in the preheated oven for about 40-50 minutes, or until the inside is easily shredded with a fork but still holds its shape.
  2. Cook the Taco Meat:

    • While the squash is roasting, heat a skillet over medium heat. Add the ground beef or turkey and cook until browned, breaking it up into small pieces as it cooks.
    • Drain any excess fat, then stir in the taco seasoning and water. Bring to a simmer and let cook for another 5-7 minutes, until the mixture has thickened and is flavorful. Set aside.
  3. Prepare the Bell Peppers:

    • In another skillet, sauté the diced bell peppers in a little olive oil until they are just tender. Season with a pinch of salt and pepper. Set aside.
  4. Assemble the Taco Boats:

    • Once the spaghetti squash is cooked, remove from the oven and let cool slightly. Using a fork, gently fluff and scrape the strands to create a “spaghetti” texture, but leave them inside the shell.
    • Spoon the taco meat evenly among the squash halves, followed by the sautéed bell peppers.
    • Sprinkle the shredded cheese over the top of each filled squash half.
  5. Broil the Squash:

    • Place the stuffed squash halves back into the oven and broil for 3-5 minutes or until the cheese is melted and bubbly.
  6. Garnish and Serve:

    • Top each squash half with diced avocado and a dollop of sour cream.
    • If desired, garnish with chopped cilantro, a squeeze of lime, or sliced jalapeños for an extra kick.
    • Serve hot as a delightful, low-carb meal that captures all the taco flavors you love!
[/et_pb_text][/et_pb_column][/et_pb_row][/et_pb_section]

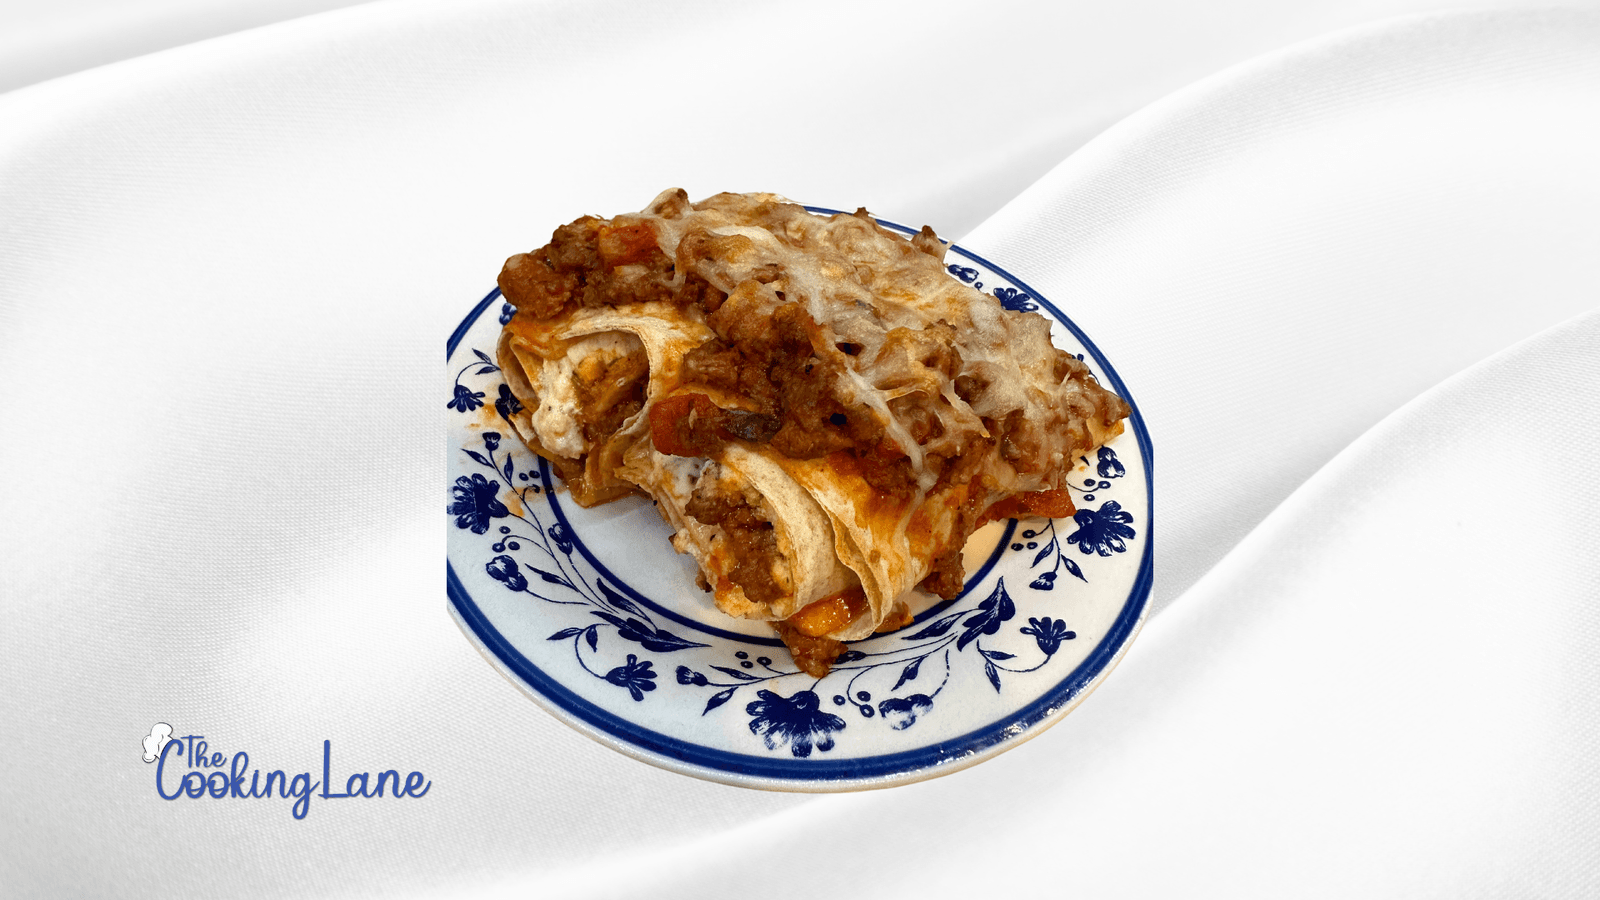
Low Carb Lasagna Roll Ups

[et_pb_section fb_built=”1″ theme_builder_area=”post_content” _builder_version=”4.25.1″ _module_preset=”default”][et_pb_row _builder_version=”4.25.1″ _module_preset=”default” theme_builder_area=”post_content”][et_pb_column _builder_version=”4.25.1″ _module_preset=”default” type=”4_4″ theme_builder_area=”post_content”][et_pb_text _builder_version=”4.25.1″ _module_preset=”default” theme_builder_area=”post_content” hover_enabled=”0″ sticky_enabled=”0″]

Ingredients:

  • 1/2 lb ground beef
  • 1/2 lb Italian sausage, casing removed
  • 1 small onion, finely chopped
  • 1 cup spaghetti sauce (low-carb, if available)
  • 1 cup ricotta cheese
  • 1/2 cup grated Parmesan cheese
  • 1 cup shredded mozzarella cheese
  • 4 pieces of lavish bread
  • 1 tbsp Italian seasoning
  • Salt and pepper, to taste
  • Olive oil, for cooking

Instructions:

  1. Preheat the Oven:

    • Preheat your oven to 375°F (190°C).
  2. Cook the Meats and Onion:

    • In a large skillet, heat a bit of olive oil over medium heat. Add the chopped onion, ground beef, and Italian sausage. Cook, breaking up the meat with a spatula, until browned and cooked through. Drain any excess grease.
    • Season with salt, pepper, and half of the Italian seasoning. Mix well and set aside to cool slightly.
  3. Prepare the Cheese Mixture:

    • In a bowl, combine the ricotta cheese, Parmesan cheese, and the remaining Italian seasoning. Mix well until combined.
  4. Prepare the Lavish Bread:

    • Lay a piece of lavish bread flat on a clean surface and cut it into three equal pieces.
  5. Assemble the Roll-Ups:

    • Take one piece of the cut lavish bread, spread a thin layer of the ricotta mixture over it.
    • Add a layer of the meat mixture on top of the ricotta.
    • Sprinkle some mozzarella cheese over the meat.
    • Carefully roll up the lavish bread tightly. Repeat this with all the remaining pieces of bread and fillings.
  6. Bake the Roll-Ups:

    • Place the roll-ups seam side down in a baking dish.
    • Spoon the spaghetti sauce over the roll-ups, covering them lightly.
    • Sprinkle the remaining mozzarella cheese over the top.
    • Bake in the preheated oven for about 20-25 minutes, or until the cheese is bubbly and golden.
  7. Serve:

    • Let the lasagna roll-ups cool for a few minutes before serving.
    • Cut into portions and serve hot, garnished with additional Parmesan cheese or fresh herbs if desired.
[/et_pb_text][/et_pb_column][/et_pb_row][/et_pb_section]

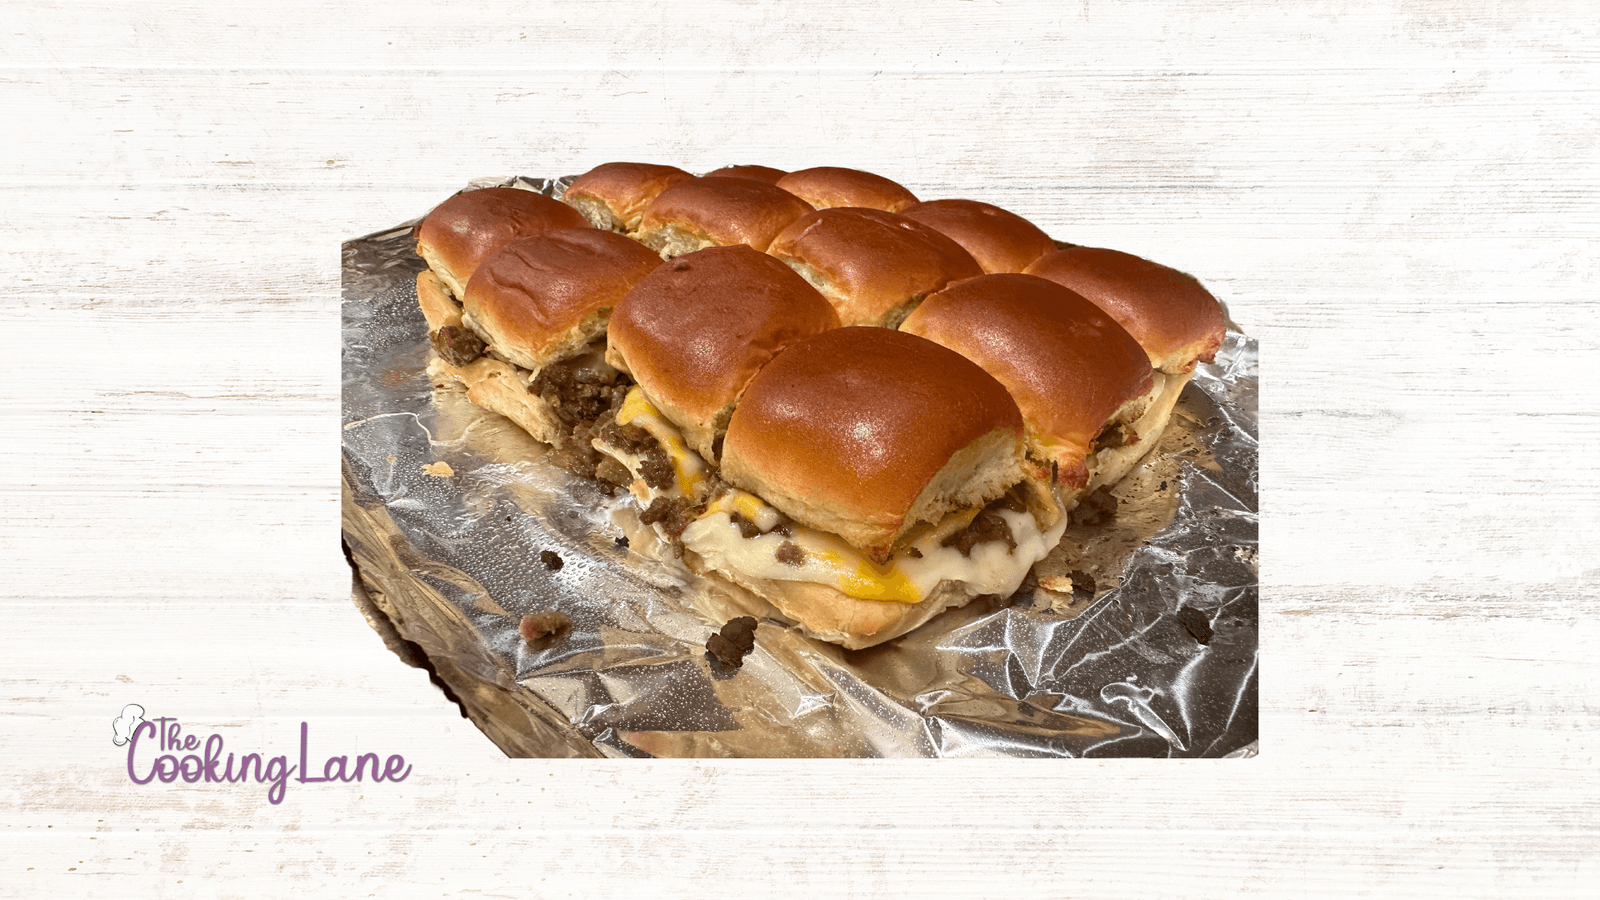
Cheeseburger Sliders

[et_pb_section fb_built=”1″ theme_builder_area=”post_content” _builder_version=”4.25.1″ _module_preset=”default”][et_pb_row _builder_version=”4.25.1″ _module_preset=”default” theme_builder_area=”post_content”][et_pb_column _builder_version=”4.25.1″ _module_preset=”default” type=”4_4″ theme_builder_area=”post_content”][et_pb_text _builder_version=”4.25.1″ _module_preset=”default” theme_builder_area=”post_content” hover_enabled=”0″ sticky_enabled=”0″]

Ingredients:

  • 1 lb ground beef
  • 1 small onion, finely chopped
  • 1 tsp “Slap Ya Mama” seasoning
  • 1 tsp garlic powder
  • 1 tbsp Worcestershire sauce
  • 1 tsp black pepper
  • 12 Hawaiian rolls
  • 8 slices Colby Jack cheese
  • 8 slices Provolone cheese

Instructions:

  1. Preheat the Oven:

    • Preheat your oven to 350°F (175°C).
  2. Cook the Ground Beef Mixture:

    • In a skillet over medium-high heat, cook the ground beef and chopped onion until the beef is browned and the onion is translucent.
    • Drain off excess fat and return the skillet to the heat.
    • Add “Slap Ya Mama” seasoning, garlic powder, Worcestershire sauce, and black pepper. Stir well to combine and cook for an additional minute. Remove from heat.
  3. Prepare the Sliders:

    • Slice the Hawaiian rolls in half horizontally, keeping them connected if possible, and place the bottom half on a baking sheet.
    • Place four slices of Colby Jack cheese on the bottom half of the rolls, covering them evenly.
    • Evenly distribute the cooked ground beef mixture over the layer of Colby Jack cheese.
    • Top the beef mixture with four slices of Provolone cheese, again covering it evenly.
  4. Top and Bake:

    • Cover the cheese and beef layers with the top halves of the Hawaiian rolls.
    • Cover the entire assembly with aluminum foil to prevent the rolls from burning and to help the cheese melt evenly.
    • Bake in the preheated oven for about 10 minutes, or until the cheese is thoroughly melted and the rolls are slightly toasted.
  5. Serve:

    • Remove from the oven and let them cool slightly before slicing along the roll separations to serve. This method ensures each slider has a perfect distribution of meat and double cheese.
[/et_pb_text][/et_pb_column][/et_pb_row][/et_pb_section]

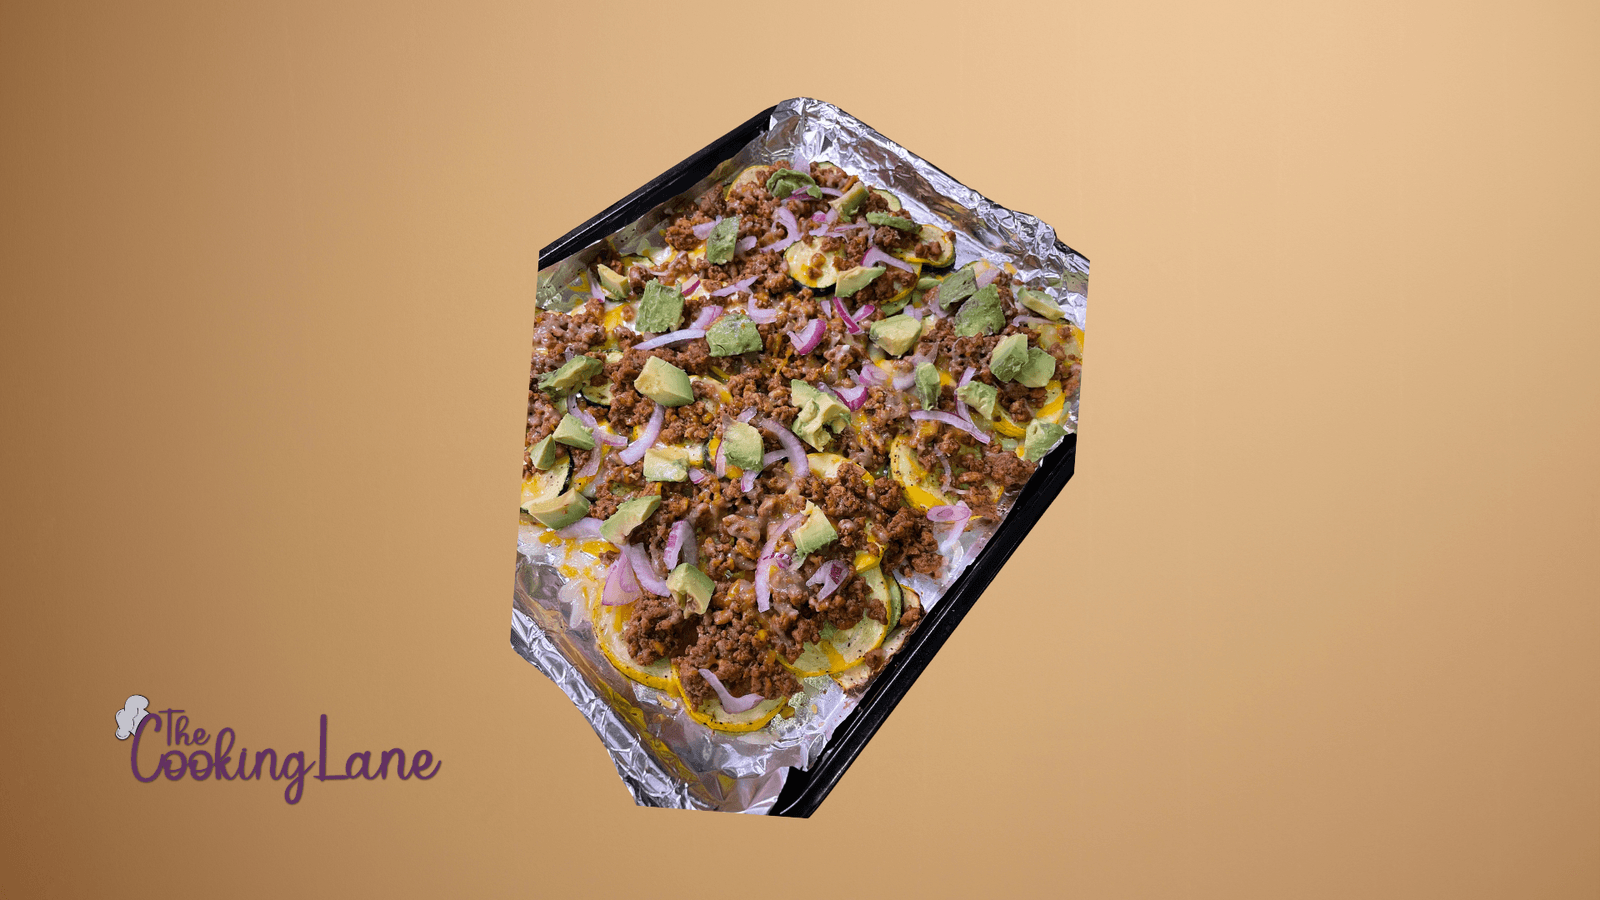
Squash Nachos

[et_pb_section fb_built=”1″ theme_builder_area=”post_content” _builder_version=”4.25.0″ _module_preset=”default”][et_pb_row _builder_version=”4.25.0″ _module_preset=”default” theme_builder_area=”post_content”][et_pb_column _builder_version=”4.25.0″ _module_preset=”default” type=”4_4″ theme_builder_area=”post_content”][et_pb_text _builder_version=”4.25.0″ _module_preset=”default” theme_builder_area=”post_content” hover_enabled=”0″ sticky_enabled=”0″]

Ingredients:

  • 2 medium zucchini, sliced into rounds
  • 2 medium yellow squash, sliced into rounds
  • 2 tbsp olive oil or vegetable oil
  • 1 lb ground beef
  • 2 tbsp taco seasoning
  • 1 cup shredded Mexican cheese blend
  • 1/2 red onion, finely chopped
  • 1 ripe avocado, diced

Instructions:

Prepare the Squash:

  1. Preheat Oven: Preheat your oven to 400°F (200°C).
  2. Season Squash: In a large bowl, toss the zucchini and yellow squash slices with the oil until they are evenly coated. This will help them roast better and become crisper.
  3. Roast Squash: Arrange the oiled squash slices in a single layer on a baking sheet lined with parchment paper. You might need to use two sheets to avoid overcrowding.
  4. Cook: Place the squash in the oven and roast for about 15-20 minutes or until they are slightly crispy on the edges. This will be your “nacho chips.”

Cook the Beef:

  1. Brown the Beef: While the squash is roasting, heat a skillet over medium-high heat. Add the ground beef and cook until browned, breaking it up with a spatula as it cooks.
  2. Season the Beef: Once the beef is cooked through, drain any excess fat. Stir in the taco seasoning and cook according to the seasoning package instructions, usually by adding a small amount of water and simmering until thickened.

Assemble the Nachos:

  1. Layer the Nachos: Remove the roasted squash from the oven. Layer half of the squash back onto one of the baking sheets, then sprinkle half of the cooked ground beef and half of the shredded cheese over the squash. Repeat with another layer of squash, beef, and cheese.
  2. Bake the Nachos: Return the baking sheet to the oven and bake for another 5-10 minutes, or until the cheese is melted and bubbly.

Final Touches:

  1. Add Toppings: Once the nachos are out of the oven, sprinkle the chopped red onion and diced avocado over the top.
  2. Serve Immediately: Serve your squash nachos hot, ideally with your favorite salsa, sour cream, or guacamole on the side.
[/et_pb_text][/et_pb_column][/et_pb_row][/et_pb_section]

Crispy Chicken Sandwich

[et_pb_section fb_built=”1″ theme_builder_area=”post_content” _builder_version=”4.25.0″ _module_preset=”default”][et_pb_row _builder_version=”4.25.0″ _module_preset=”default” theme_builder_area=”post_content”][et_pb_column _builder_version=”4.25.0″ _module_preset=”default” type=”4_4″ theme_builder_area=”post_content”][et_pb_text _builder_version=”4.25.0″ _module_preset=”default” theme_builder_area=”post_content” hover_enabled=”0″ sticky_enabled=”0″]

Ingredients:

  • 2 large chicken breasts, halved horizontally
  • 2 tsp “Slap Ya Mama” seasoning
  • 1 tsp garlic powder
  • 1 tsp black pepper
  • 1 tsp salt
  • 1 cup all-purpose flour
  • 2 large eggs
  • 1/4 cup milk
  • 2 tbsp hot sauce
  • 1 tbsp Worcestershire sauce
  • Vegetable oil, for frying
  • 4 sweet Hawaiian buns
  • Chicken dipping sauce (use your favorite)
  • Dill pickles, sliced

Instructions:

Prepare the Chicken:

  1. Tenderize the Chicken: Place the chicken halves between two pieces of plastic wrap and gently pound them with a meat mallet to an even thickness.
  2. Season the Chicken: In a small bowl, mix 1 tsp “Slap Ya Mama” seasoning, garlic powder, black pepper, and salt. Sprinkle evenly over both sides of the chicken breasts.

Make the Marinade:

  1. Mix Wet Ingredients: In a bowl, whisk together the eggs, milk, hot sauce, and Worcestershire sauce.
  2. Marinate the Chicken: Place the seasoned chicken in the marinade and let sit for at least 30 minutes (or up to a few hours in the refrigerator).

Prepare the Dredging Station:

  1. Mix Dredging Ingredients: In another bowl, mix the flour with the remaining 1 tsp of “Slap Ya Mama” seasoning.
  2. Dredge the Chicken: Remove each piece of chicken from the marinade, letting excess drip off, then coat thoroughly in the flour mixture.

Fry the Chicken:

  1. Heat the Oil: In a large skillet, heat about 1/2 inch of vegetable oil over medium-high heat.
  2. Cook the Chicken: Fry the chicken for about 4-5 minutes on each side or until golden brown and cooked through. Remove from the oil and let drain on a wire rack or paper towels.

Assemble the Sandwich:

  1. Prepare the Buns: Lightly toast the sweet Hawaiian buns in a pan or oven.
  2. Build the Sandwich: Spread a generous amount of chicken dipping sauce on both halves of each bun. Place a piece of fried chicken on the bottom bun, add a few slices of pickles, and top with the other half of the bun.
[/et_pb_text][/et_pb_column][/et_pb_row][/et_pb_section]